Butternut squash

The arrival of fall brings with it so many pleasures–beautiful foliage, football, the start of the holiday season and many more.  One of the things I most look forward to with the arrival of fall is the winter squash butternut squashseason, and my favorite winter squash is the butternut squash.  These somewhat pear-shaped squash have a slightly sweet, nutty flavor similar to a pumpkin.  As a matter of fact, when I asked a local Amish farmer which of the pumpkins he grew would be the best for a pie, he took me to the butternut squash and said this is what we use for pies.  Not only do butternut squash taste delicious, but they are a good source of vitamin A including beta carotene, fiber, potassium and magnesium.  Their ability to be used in sweet and savory recipes makes them a highly versatile vegetable.

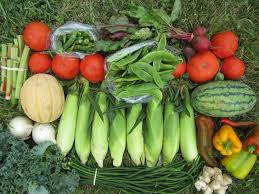
These squash are grown in the summer, but harvested in the fall, so right now is the height of butternut squash season.  They are readily available in farmers’ markets and grocery stores and because they are in season they are reasonably priced and full of flavor.  Butternut, and most winter squash, store well if you have the right place.  Stored in a cool, dark place, butternut squash can last for 2-3 months, maybe longer depending on your conditions.  This potential for long term storage allows you to buy several of them when they are at their cheapest.

Not everyone is familiar with butternut squash.  I know I wasn’t until a few years ago.  Most recipes begin with roasting the squash, but it can also be sautéed and cooked in a soup.  Here are some recipes to try.  And while I enjoy butternut squash in dishes, sometimes my favorite way to eat it is to just roast peeled, cubed butternut squash tossed in olive oil (or any vegetable oil) with a little salt and pepper.
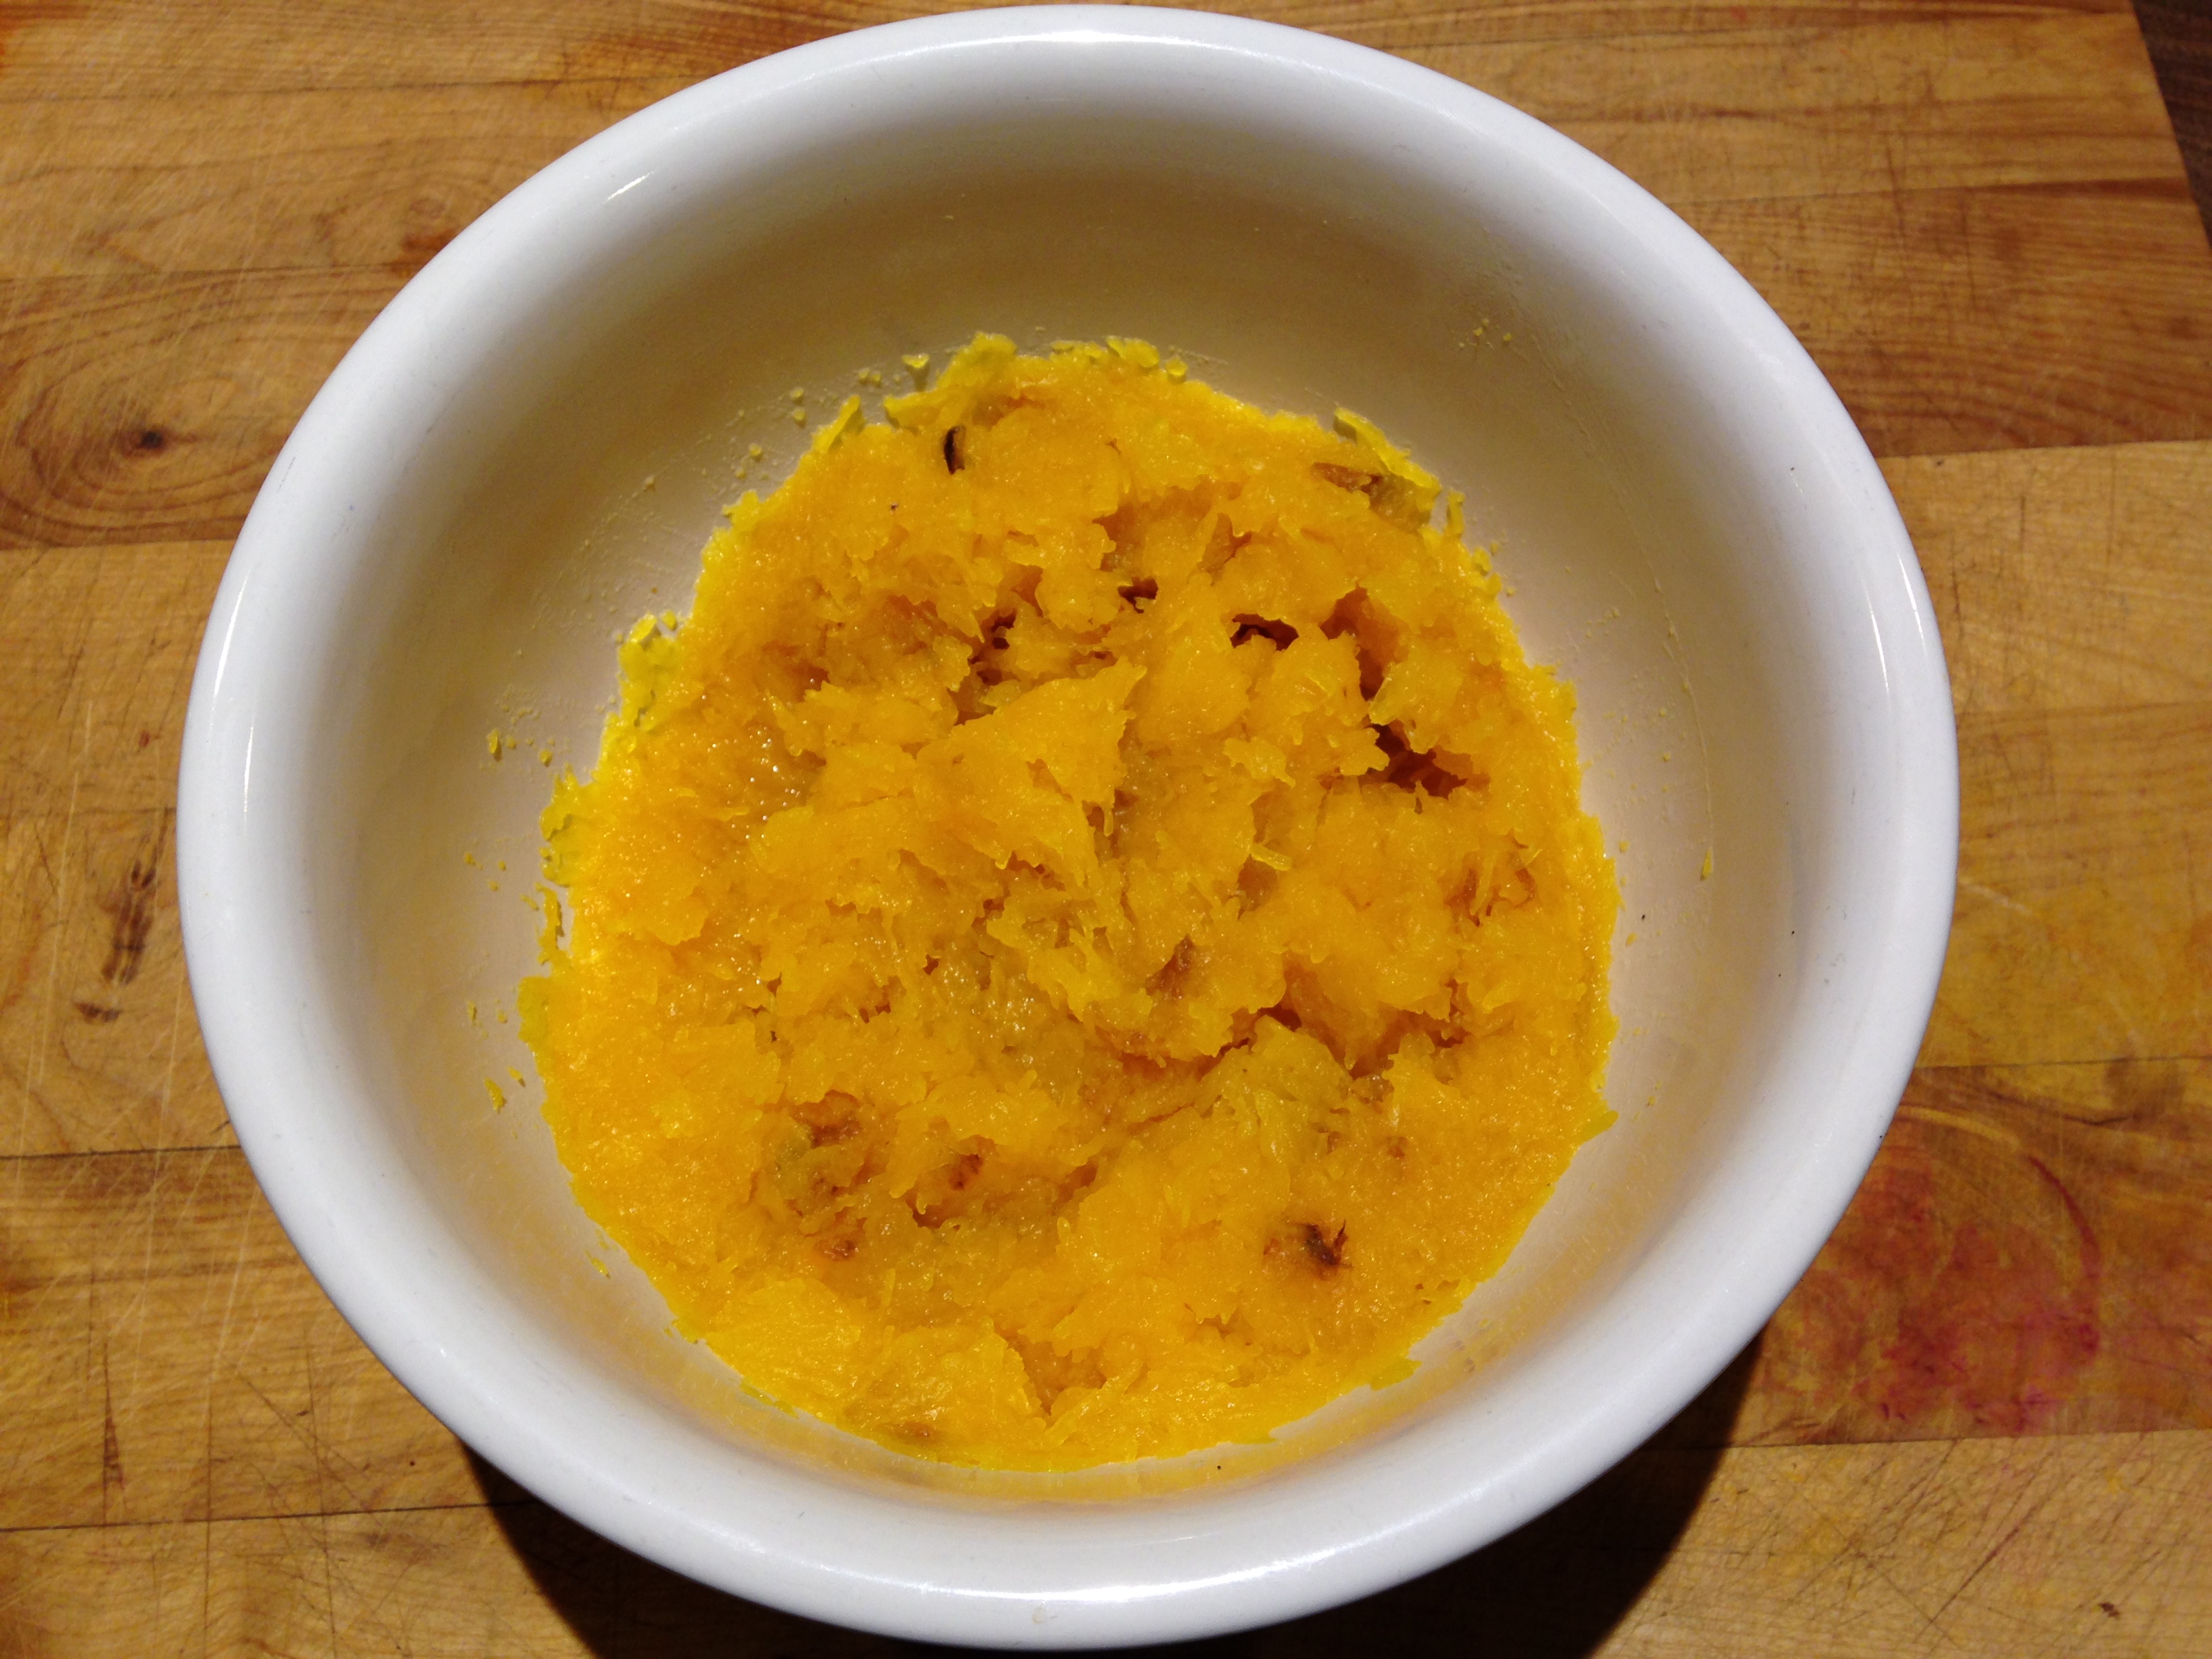
mashed bns

Winter Squash Puree

from Good and Cheap:  Eat Well on $4/Day

  • 1 Tbs. butter, plus more for the pan
  • 1 butternut squash (or any other winter squash except spaghetti squash)
  • 3 cloves garlic, minced
  • salt and pepper to taste

            Additions

  • yogurt or sour cream
  • brown sugar and cinnamon
  • finely chopped chiles
  • curry powder
  • raisins
  • sage
  • parmesan, cheddar  or goat cheese

Preheat the oven to 400 degrees.  Butter a baking sheet.  Slice the squash in half using a big, sharp knife.  Scoop out the seeds and fibers.  Set the halves facedown on the sheet.  Bake in the oven until a knife poked into the squash goes through easily, 30-40 minutes.  Melt the butter in a pan over medium heat.  Add the garlic and sauté about 2 minutes.  Remove from the heat.  Scoop the squash from the skin and place it in a large bowl with the garlic, the butter from the pan and any other additions.  Mash and stir until smooth.  Taste and add salt and pepper as needed.

This recipe makes a great side dish.  I would also use it with goat cheese as a spread on toast in the morning!

roasted bns

Baked Garlicky Butternut Squash

from Main Course Vegetarian Pleasures

  • 1 large (3 1/2 pounds) butternut squash, peeled and cut into 1-inch dice
  • 1/3 cup olive or other vegetable oil
  • 2 garlic cloves, minced
  • 2 Tbs. minced parsley
  • salt to taste
  • liberal seasoning of black pepper
  • 1/3 cup grated parmesan cheese

Preheat oven to 400 degrees.  In a large bowl, toss squash, oil, garlic, parsley, salt and pepper.  Spoon vegetable into a shallow baking dish, making sure the squash is in a single layer.  Sprinkle with the parmesan cheese.  Bake for 1 hour, or until the squash is tender, but not mushy.

Again I have made the above recipe using just oil, salt and pepper!


bns bb pinto

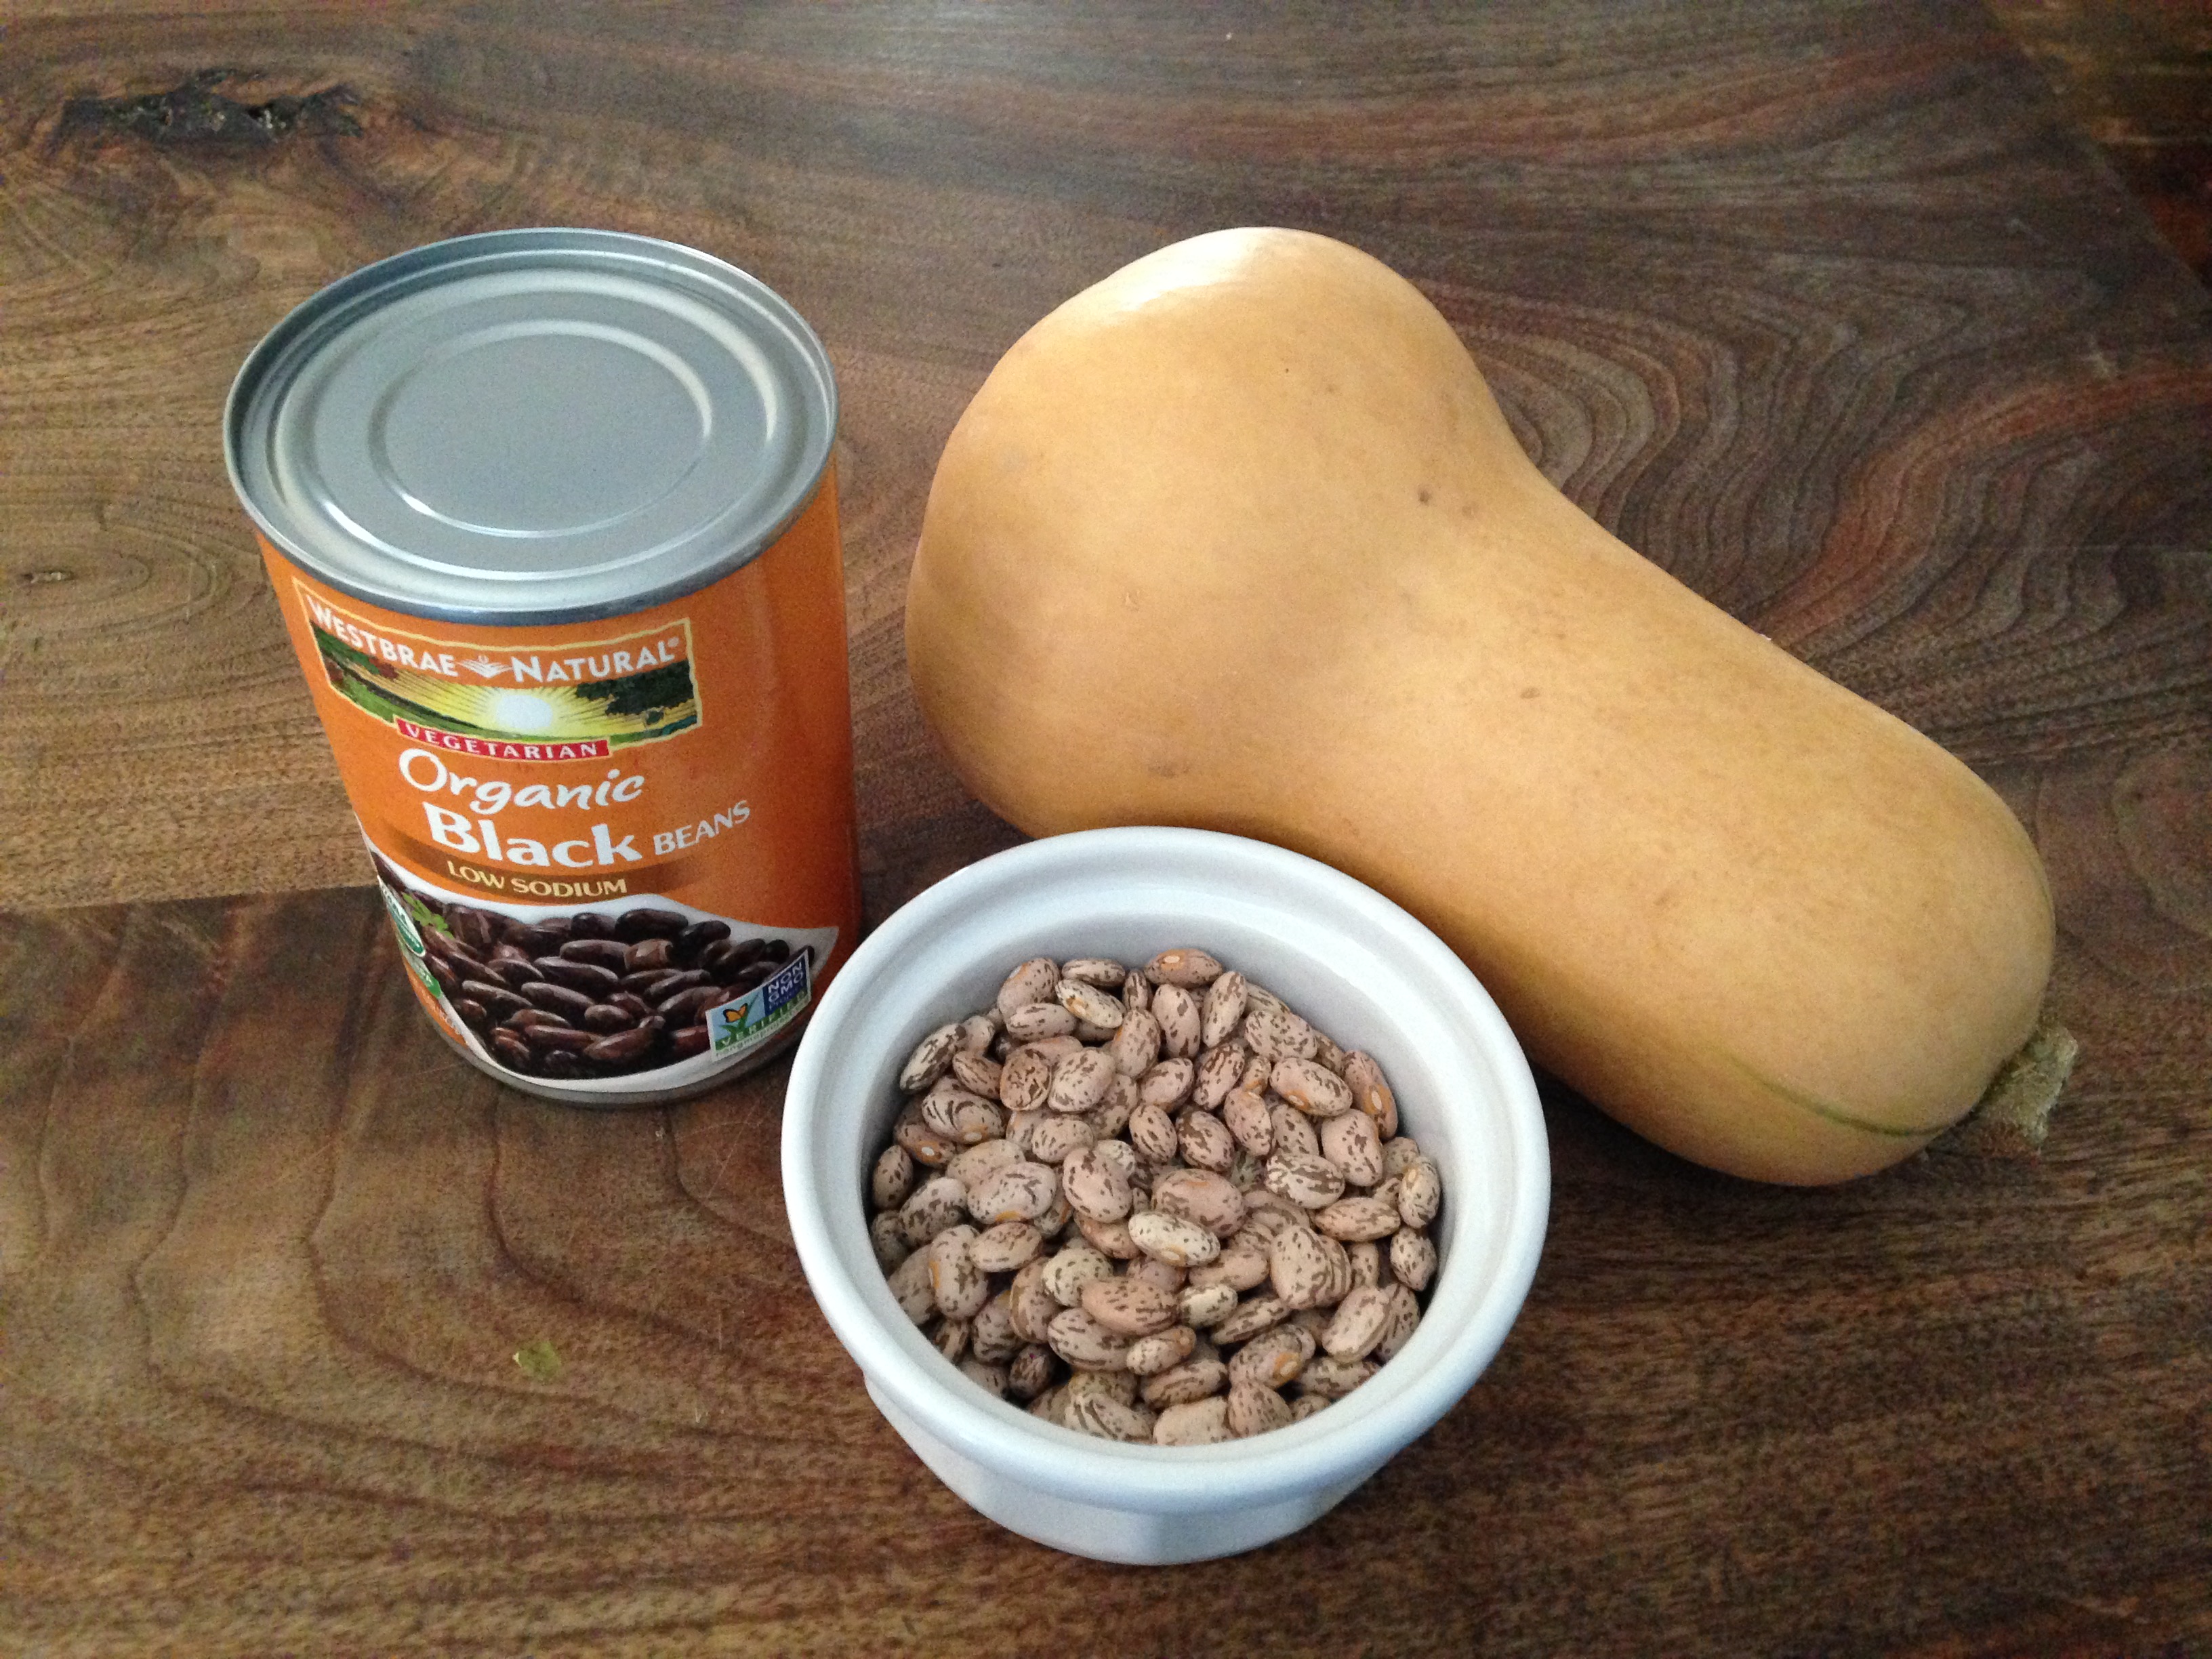
Butternut Squash & Black Bean Tacos

recipe courtesy of Chester County Food Bank

  • 1 butternut squash, peeled, seeded and cut into small cubes
  • 2 cans of black beans, drained, rinsed and warmed.
  • 3 Tbs. olive  or vegetable oil
  • 1 Tbs. of chili powder or other spices (maybe cumin)
  • salt and pepper to taste
  • 8-10 corn or flour tortillas
  • 1 cup sour cream or cheese (optional)
  • salsa or hot pepper, diced (optional)

Preheat oven to 400 degrees.  Pile squash on a baking dish, drizzle with oil, sprinkle with chili powder or other spices and 1 tsp. salt.  Toss to coat the squash evenly.  Spread the squash in a single layer on the pan and roast for about 25 minutes, stirring once about halfway through.  The squash should be very soft and browned around the edges.  Remove from oven and set aside.  To make the tacos:  fill the tortillas with the squash and beans.  Top with the optional ingredients, if desired, and serve right away.  Any leftover taco filling can be stored in the refrigerator for 2-3 days.

Instead of tacos, you could put the filling into a burrito, make a quesadilla or mix it with crunched up tortilla chips to make a taco salad.  You could use pinto beans instead of black beans and cooking dry beans is a cheaper option.

I have so many more recipes for butternut squash.  I could almost eat a butternut squash every week for most of the season and not repeat a recipe.  I hope these the recipes above inspire you to cook a butternut squash, especially if you have never tried one!  I’m off to cook one now to use in Butternut Squash Lasagna.

Advertisement

A Plan of Action

I have not been able to volunteer the past two weeks due to family appointments.  Even though I know clients will continue to get their food, I feel bad not being there and realize that I am contributing to the instability of emergency food as discussed in Janet Poppendieck’s “Seven Deadly Ins” of emergency food.  My inability to volunteer does not mean that I have been idle.  This past week I have been thinking about last week’s post and the goals I put forth in it.  While looking for inspirational quotes to include in that post I encountered this one goal dreamand it has been haunting me since.  I don’t have any deadlines; I admitted as much in my post.  While I am not sure my current family responsibilities will allow me to create firm deadlines, I have decided to shift my attention, slightly, away from strictly blogging and more toward working on my goals and creating squishy deadlines.  I plan to take the summer months, when my boys are home from school and my work day will be a little bit more disrupted and noisy, to do some researching and planning.

Toward that end, I started scouring my cookbooks for recipes using oats.  Oats, to me, seem likeoats a no-brainer for a food bank or pantry to distribute.  They are an incredible source of soluble fiber, more than any other grain, which slows digestion and keeps one full longer.  The soluble fiber in oats also helps control blood sugar levels, so oats may help to reduce a person’s risk of Type 2 diabetes.  Oats have been proven to lower cholesterol and contain a protein, nearly equivalent in quality to soy protein, which has been shown to be equal to other forms of protein, like eggs and meat.  All of these benefits have lead some to label oats as a super food.

Despite all of the benefits of oats, they are not a staple at either of the food pantries where I volunteer.  Sometimes donated containers of oats will be available, but more often than instant oatsnot what is available are the packets of instant oatmeal.  This type of oatmeal often contains lots of sugar and salt.  It has also been processed more, allowing it to digest quicker, reducing the benefits associated with the slower digestion of rolled or steel cut oats.  Furthermore, instant oatmeal can only be used for one thing, a warm breakfast cereal.  Oats, on the other hand, can be used in many recipes.  Without spending too much time I was able to find about a dozen suitable recipes using oats, and I haven’t even begun to probe recipes using oats for side dishes.

Other areas in which I want to invest some time researching are starting a non profit and finding potential seed funding for that venture.  I have a neighbor who just used crowdfunding for a video series on horse slaughter in America with the help of Indiegogo.  This was a new concept to me, but seemed to be successful for him, so it warrants further investigation.  In addition to registering and funding my non-profit, I need to determine what food items I will supply to food pantries and how the distribution will work.  I currently see a featured partnering of items with accompanying recipes.  For instance, drawing oats cinnamonupon oats, I would donate oats and cinnamon to the food pantry.  Clients would then be able to take the paring of a container of oats and a bottle of cinnamon along with a handful of recipes.  The items partnered together would change with the seasons, featuring items that made sense for the time of year.  Lastly, once items to be donated have been chosen, I need to determine how I get the items to donate.  Do I partner with retailers and/or wholesalers, accept donations, make purchases or a combination of these options?

Sounds like I am going to be busy this summer!  I don’t imagine I will get all those objectives solved in the space of a few months, but I now have a plan of action.  Presently I need to return my attention to gathering a few more recipes for oats and getting them typed up.  At the same time I need to start collecting some recipes for kale and collards.  The Chester Country Food Bank posted on Facebook this week that volunteers harvested 350 pounds of kale and collard greens.  I imagine that will start to trickle down to the food pantries soon, as will other vegetables.  Can’t wait!

local produce

Bread Need Never Be Wasted

breadAll of the talk last week about the importance of cooking from scratch put me in the mood to write about cooking again.  This time I am going to focus on what to do with stale or excess bread.  As I mentioned in a previous post, each of the pantries where I volunteer gets bread donated from large retailers who have pulled the bread from sale in their establishments.  By bread I do not mean sliced bread for sandwiches, but loaves of bread, like French or Italian bread.  These donations come in once a week.  Sometimes they are barely enough to distribute to all the clients, but other times they are bountiful.  When the donations are large, excess bread is kept in the freezer or refrigerator.  When the current week’s bread arrives, any remaining from the previous week must be discarded to make space.  A couple of weeks ago I happen to be volunteering when a large bag of bread was brought out to be discarded.  It bothered me to see perfectly good, albeit stale, bread being thrown away.  I decided to take it, with the idea of finding uses for it.

As I started going through my cookbooks looking for recipes using bread I came across the sentence I used for my title in a cookbook by Alice Waters.  Boy was she right!  Here are some of the uses for stale bread that I found.  The first use for stale bread that immediately came to mind was bread pudding.  My mother made this dessert quite a bit when I was growing up.  While I was familiar with bread pudding as a dessert, I also discovered recipes for savory bread puddings that can be used as a side dish for dinner.  Like adding raisins or other fruit to a dessert bread pudding, the savory bread pudding can be made with vegetable add ins, like winter squash, roasted peppers or eggplant.  Sticking with side dishes, a great use for stale bread in the summer when tomatoes and fresh basil are plentiful and flavorfulpanzanella is Panzanella, an Italian bread salad.  Fattoush, a Lebanese bread salad, is also good in the summer.  It is usually made with pita bread, but I have substituted a cubed sturdy loaf bread in place of the pita bread and it worked just fine.

http://www.momswhothink.com/easy-recipes/bread-pudding-recipe.html

http://www.foodnetwork.com/recipes/ina-garten/panzanella-recipe.html

Stale loaf bread lends itself to breakfast casseroles as well.  My kids love a baked French toast casserole I make or you could just slice the bread and make individual slices of French toast.  Additionally, there are numerous variations on the breakfast strata, which is a layered stratabreakfast casserole consisting mainly of eggs, bread and cheese.  To those main ingredients you can add any of the breakfast meats and/or vegetables like spinach, peppers or mushrooms.  The great thing about most of these breakfast casseroles is that they can be assembled the night before and would just need to be cooked in the morning.  The strata I make the most calls for ham, which is a great use for leftover ham as well.  I think stratas make a great breakfast-for-dinner meal too, add on a salad or better yet, make the strata with some spinach for a one dish meal!

http://allrecipes.com/recipe/breakfast-strata/

The recipes I have discussed so far are dishes using bread, but stale bread can be transformed into other things to be used in recipes.  Homemade croutons are a good use for stale bread.  Just cube the bread up, toss it with some oil (preferably olive oil) and herbs or garlic, and bake until the bread has dried out.  Croutons can be tossed in a salad or served in a soup.  Similarly,croutons you can make homemade bread crumbs too.  Finally, I have made toasts for snacking.  This is particularly good if you have a baguette, as the slices are the perfect size.  I mix together spices and olive oil, then brush it on the thinly sliced baguette and bake until the slices are crunchy.  The ones I make have a spicy mixture of spices on them, but I have often wanted to try ones with a mixture of Italian spices and maybe some cheese.   Finally, bread, wrapped well, can be frozen for up to 3 months, so if  you have the ability to freeze it for a later use that is always an option too.

I did not make all these recipes with the bag of bread I brought home, but I have made a version of every recipe I mentioned, sometimes with fresh bread, but most often with stale bread which usually works better.  Although not the recipes I used, I have included links to recipes for a couple of dishes I mentioned to give an idea of what the dish is like.  One thing did concern me as I was reading over recipes, particularly the ones for casseroles.  Most of those recipes called for several eggs and a good deal of milk, or even cream.  These ingredients are often precious to people who are struggling to make food last as long as it can.  In discussing making bread pudding with my mother she mentioned she sometimes makes her grandmother’s recipe.  I knew from stories my mother had shared about lean times during her childhood, that this recipe would be a simple one yet would still taste good.  I asked my mother for the recipe and sure enough it uses less eggs, a bit less sugar and omits the vanilla all together, while still being tasty.  I have included this recipe below.  Thanks Granny, both of you!

Granny’s Bread Pudding

  • 3 cups bread torn into bite sized pieces
  • 2 cups milk
  • 3/4 cups sugar
  • 2 eggs
  • 1 teaspoon cinnamon
  • optional ingredients include 1/2 cup of raisins, blueberries or chocolate chips or a sliced banana

Preheat oven to 350 degrees.  Mix bread and milk together and let sit for 15 minutes.  Mix together slightly beaten eggs, sugar and cinnamon.  Add this mixture to the bread/milk mixture and stir.  Add any optional ingredients and stir.  Turn into an 8x8x2 inch baking dish and bake for 50-60 minutes or until a knife inserted in the center comes out clean.

Curly or Plain or Bumpy Like a Dinosaur

After writing about collecting and distributing recipes yesterday I got inspired to start looking for recipes to include in the compilation.  Because I wrote about kale being a hard sell to food pantry clients and I love kale, I decided it should be a main ingredient in my first recipe.  This is a recipe I have used for several years.  I have altered the ingredients slightly to make it more economical.  I mention all the alterations in the notes so that when people make the recipe they can choose to add what their budget will allow.

3 kales

Penne with Kale and White Beans

  • 1 1/2 pounds kale
  • 3 Tbs. oil (use olive oil, if you have it, for more flavor)
  • 4-6 garlic cloves, minced (use more for stronger flavor)
  • 1/3 C vegetable or chicken stock (can use water)
  • 2 C cooked or 1 16 oz. can white beans
  • 1/2 tsp. salt
  • 1/2-1lb. penne pasta (or any short pasta)

Bring 3 quarts of water to a boil in a saucepan.

Prepare kale by removing the stems from the leaves.  Save the stems for later use (see note).  Tear the leaves into bite sized pieces.  Place the kale in a colander and rinse.  Leave in colander to drain.

Heat the oil in a large skillet over medium high heat.  Add the garlic and sauté for 2 minutes.  Stir in the kale and stock or water and cover the pan.  Cook until the kale is wilted and tender but still bright green, about 7 minutes.  Gently stir in the beans and salt and keep warm over low heat.

Place the pasta into the boiling water and cook until tender, about 10 minutes.  Drain the pasta, then carefully stir into the kale mixture.  Serve immediately.

Notes:

Instead of kale, you can use chard, collard greens or spinach.  The chard and collard greens will take a little longer to cook and the spinach will take less.

You can make vegetable stock with the stems from the kale.  Put them in a saucepan with about 2 cups of water, a pinch of salt and some pepper.  Bring the water to a boil, then turn down the heat and simmer for at least 30 minutes.  Remove the kale stems and adjust the seasoning to taste.

You can use any white bean, like cannellini beans, navy beans, or chick peas (garbanzo beans).  If using canned beans, drain and rinse thoroughly.

Any hard Italian cheese, like Parmesan, will give this dish more flavor.  Add 1/4 cup of grated cheese at the end before you serve it.

This dish can be a meal and will serve 4 or can be used as a side dish for meat and will serve more.  If you are making this as a meal, use one pound of pasta or add more beans.  If you are making it as a side dish, you can choose to omit the pasta.

You can use hot pepper flakes or a hot sauce, like Tabasco, to give this dish a little kick.  If using hot pepper flakes, add 1/4 tsp. pepper flakes to the skillet when you put in the garlic.  The hot pepper sauce can be added before serving or placed on the table to allow individuals to season to taste.

kale pasta